Planning a new LED sign or digital signage installation in Brisbane requires more than picking a screen size. A thorough site survey helps ensure your investment suits the location and avoids surprises. Blink Digital – a Brisbane-based LED signage specialist – recommends checking several factors before requesting a quote. These include visibility (distance, traffic and light conditions), mounting space and structure, power and data access, installation logistics, servicing, and any approvals needed. Below is a comprehensive checklist to guide businesses through the pre-installation review.
Viewing Distance and Traffic Speed
A key goal is ensuring your message is readable at typical viewing distances and speeds. Signs along busy roads or highways need larger text, higher brightness and longer display times than signs for pedestrians or parking areas. As a rule of thumb, each metre of viewing distance demands about 1 mm of letter height. For example, if drivers may first see your sign at 100 m, letters should be roughly 100 mm tall or more. Faster vehicle speeds require even bigger, bolder characters to give motorists enough time to read and react. In practice, Blink Digital often applies industry standards (like AS 1742’s guidelines) so that highway-facing signs have clear type sizes and high brightness.
A site survey will assess average traffic speed and volume near your site, along with any obstructions (trees, poles, other signage or curves) that could limit visibility. For instance, Electro-Matic Visual explains that traffic speed and visual clutter along the travel route can greatly impact how noticeable a sign is. Blink Digital’s team will walk or drive the site to estimate viewing angles and distances – noting whether viewers are stationary (shopping centre car park) or moving fast (busy arterial road). These observations determine optimal LED “pixel pitch” (the distance between LEDs) and sign dimensions for crisp, legible text.
Practical tip: Choose signage locations where approaching drivers have unobstructed sight lines (not hidden behind poles or tall vehicles). Use the “1 mm per metre” letter-height rule to set minimum text size, and consider traffic studies (or simple timing) to gauge how many seconds drivers will see the sign. Blink Digital’s designers can then specify a sign size and resolution that meet Austroads safety recommendations for your scenario.
Sunlight, Glare and Visual Obstacles
Outdoor LED signs must compete with bright sunlight and avoid annoying glare. A site survey checks the sun’s path and any nearby reflective surfaces. North- or west-facing signs get strong midday and afternoon sun; these may require ultra-high brightness (up to 6,000–8,000 nits) or an anti-glare coating to remain readable. Conversely, south- or east-facing signs might avoid direct sun but can still suffer reflection from glass or metal surfaces. Blink Digital will note if overhead awnings, tree canopies or neighbouring buildings cast shadows that help (or hurt) sign visibility.
During the survey, document any fixed obstructions: street trees, traffic lights, shop fronts or utility poles that might block parts of the display. For example, if a tree will grow tall, ensure it’s far enough away or plan to prune. Also check glare sources: large windows or headlights from opposite lanes can wash out an LED screen. As Eflyn recommends, controlling ambient lighting and glare is critical. The team may suggest tilting the sign slightly downward, installing shade hoods, or adjusting the sign brightness for different times of day.
In Brisbane’s strong sun and summer storms, outdoor signs also need weather-resistant features. Blink Digital confirms the recommended IP rating (weatherproofing) and even anti-corrosion finishes if the sign is near the coast. All these factors (sun angle, weather exposure, surrounding light conditions) will be recorded so the final design can include day/night brightness dimming and glare control.
Available Space and Structural Requirements
Next, measure and inspect the physical mounting site. This could be a wall, window, roof edge, pole or ground base. A good site survey includes photos and dimensions of all potential locations. Blink Digital will take wide-angle and close-up shots showing the entire wall or frontage, any doors/windows, wall texture, outlets or fixtures. For example, AFCULTURES recommends photos showing the full wall area, nearby features and the exact sign spot. These images help plan the best position, not just “somewhere on this wall.” In fact, avoid vague instructions: decide precisely where the sign will go based on sightlines and symmetry.
If you plan a wall-mounted display, measure wall height and width, and note materials. Is it solid brick, concrete, or lightweight cladding? Even studs or beams behind plasterboard are relevant. As Eflyn notes, understanding the wall structure is crucial. Larger LED signs and video walls place significant load on a wall, so confirm whether the existing structure (studs, beams or mounting ledges) can safely bear the weight. For example, a glass storefront wall may require a custom steel frame, whereas a brick wall might need anchors drilled to a certain depth. Blink Digital’s engineers will review any architectural drawings you have; if not, they may use a stud finder or even scan the wall to locate supports.
For pole or ground-mounted signs, check clearances and footing. Ensure enough open ground area away from underground pipes or cables. The survey should identify whether existing foundations exist or if new concrete footings must be poured to local standards. (In Brisbane, large freestanding signs must be designed for wind loads per AS/NZS 1170.2.) Our checklist also notes any nearby roads or sidewalks – for example, a ground sign shouldn’t encroach on public footpaths or obstruct traffic lanes.
In short, the survey confirms exactly how and where the new LED sign will be built. If only a small section of wall is free, Blink Digital might suggest a smaller cabinet or stacking modular sections. If the site is tight (e.g. narrow laneway), a thinner display or vertical orientation may be chosen. The aim is to fit the LED sign securely, without cutting corners or creating hazards.
Electrical Supply and Data Connectivity
Every LED sign needs reliable power and a way to get content. The site survey starts by locating the nearest electrical feed. Blink Digital’s team will ask, “Is there an outlet or switchboard point near our proposed sign?” They will note whether the sign will be plugged into a socket or hardwired into the building’s electrical system. For outdoor signs, it’s best to hardwire through conduit for safety. The survey records outlet height (e.g. ground level or up on the wall) and capacity. Larger signs and video walls can draw significant current, so we check if a dedicated circuit or even three-phase power is required. Surge protection and circuit breaker capacity are also noted, since QLD electrical code may require RCD (safety switch) protection on exterior outlets.
As the Eflyn guide emphasizes, confirm power availability during the site review. Powering down mid-installation causes delays. For example, Blink Digital will determine if an electrician should be scheduled to install a new 240V outlet or upgrade the switchboard beforehand. We ask: Can existing cables carry the load? Is an underground feed needed? Are there local regulations about placing sign wiring inside walls versus surface conduit? These details feed into our quote and timeline.
Digital signage also needs data. In most cases, the content is managed by a media player or Wi-Fi dongle in the sign or nearby. The survey checks if the site has a strong internet connection. Blink Digital will find out whether Ethernet is available (preferred) or if wireless (4G/LTE or site Wi-Fi) will be used. We coordinate with the facility’s IT team: can we run an Ethernet cable to this wall? Are firewall or VLAN adjustments required? The onQ installation guide, for instance, strongly advises confirming network and firewall rules before installation.
On the site visit, the team may measure Wi-Fi strength at the sign location if needed. If using our cloud CMS, a stable connection is essential for remote content updates. Without network access, many signs must be updated manually via USB – a maintenance headache we aim to avoid. So the checklist includes testing for Wi-Fi dead zones and noting whether a wireless bridge or new network drop will be needed.
In summary, power and data checks ensure your digital signage will turn on and receive content on Day 1. Blink Digital will include any extra electrical work (trenching, new meters) or telecom work (new data lines) in our quote so there are no surprises.
Installation Access and Equipment
Can the installation crew safely reach the sign location? This is often overlooked until the last minute. During the survey, Blink Digital inspects how installers will bring in the equipment. Key questions include: Ceiling height in indoor spaces (will a scissor lift fit?), width of doorways or corridors, stair access, and parking/loading areas. For example, if an LED display panel is 2 m high, can it pass through the front entrance? If not, do we need to deliver via a rear service door?
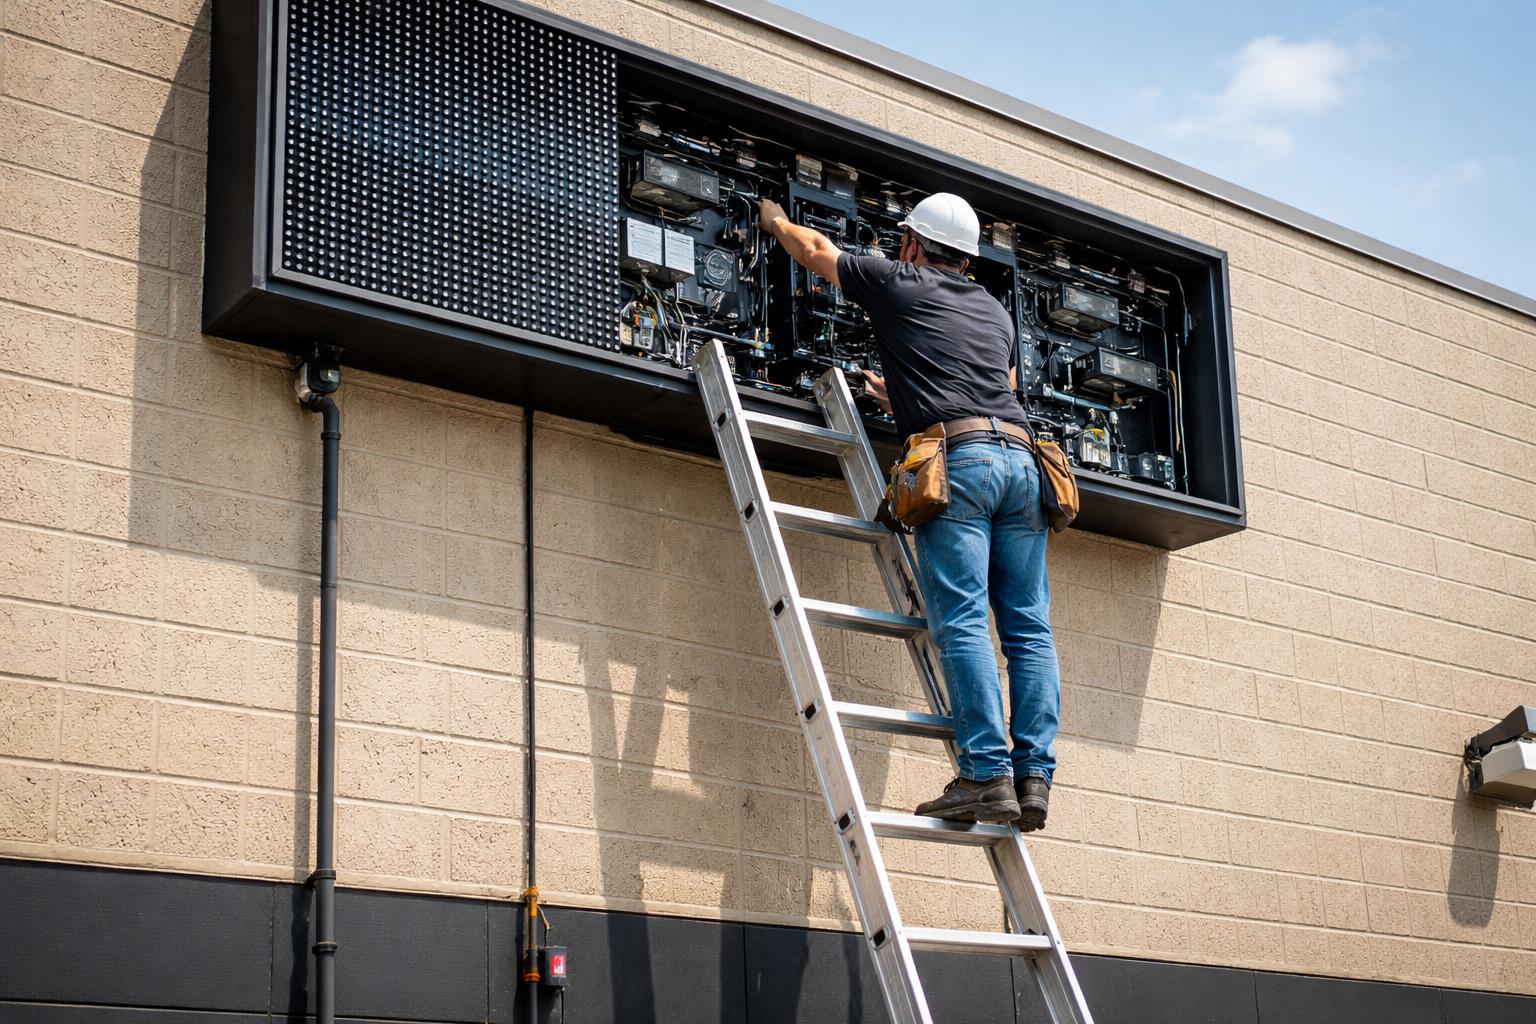
For outdoor signs, access planning is equally critical. We check if a crane or cherry picker will be needed and where it can park. Are there overhead power lines or gas pipes to avoid when lifting? The site survey notes any low-hanging branches or awnings that could block a lift basket. In shopping centres or offices, work may be restricted to after-hours or weekends; we verify centre management rules and trading hours in advance.
The Blink Digital team also looks for ground conditions: is there enough flat space for a lift or scaffolding? If the sign is on a rooftop or mezzanine, is there safe access (roof hatch, catwalk)? We confirm if any load restrictions apply on the floor above (weight of lifts, sign modules). Any limitations (e.g. no forklifts indoors, only ladder access) are flagged so we can bring the appropriate tools.
In short, the checklist covers every logistical detail of installation. Can crews unload materials near the site? Will pedestrians need rerouting? Are permits needed to close a curb lane? Planning these before installation day avoids costly delays. Blink Digital will incorporate any special requirements (like crane hire or road permits) into the project plan, ensuring a smooth setup for your LED signs Brisbane installation.
Maintenance Access and Serviceability
Once the sign is up, you must be able to service it for years. The survey evaluates long-term access. For wall-mounted signs, we check whether front or rear maintenance access is available. For example, if a sign is attached to an exterior window, can a technician safely use a ladder outside, or is scaffolding required? Blink Digital prefers designs with front-access panels for LEDs, but if back service is needed (e.g. a flat pack in a shop foyer), we ensure the room behind is lockable and reachable.
For larger LED video walls, we verify if there’s enough clearance between cabinets for module replacement without dismantling the whole screen. The onQ guide warns against “screen mounted without front-service access”. Accordingly, our survey will measure clearances: if the sign sits tight against a wall, will we install the display flush or with a service rail on the front?
Outdoor freestanding signs have special concerns. We check if the base or pole has a removable cover for electrical service, and whether this is accessible without heavy lifting equipment. In coastal or industrial areas, regular cleaning might be needed; we plan how workers will safely reach all surfaces. Blink Digital can provide optional maintenance ladders or platforms if required.
In every case, Blink Digital builds maintenance into the design, rather than discovering issues post-install. We include notes on required clearance heights, removable panels, and any fall protection needed when servicing at height. For example, the onQ checklist explicitly notes that if “screen is inaccessible for service after installation,” it’s a preventable problem. By noting these during the site survey, we ensure your LED sign is both easy to maintain and compliant with Work Health & Safety rules.
Council, Zoning and Landlord Requirements
No site survey is complete without checking approvals. Even the most perfect technical plan must be legal. Blink Digital will ask about permits and permissions at the very start. For leased or managed properties, this means getting written approval from landlords, centre managers or franchise operators. AFCULTURES advises confirming “Landlord, property manager, shopping plaza management, building owner, city or local authority” approval in advance. If your business is in a shopping complex or historic building, specific signage rules often apply.
For outdoor signs, we verify local council regulations and any state road authority rules. In Brisbane, most permanent advertising signs require a permit under Council’s planning scheme. We check Brisbane City Council’s rules on advertising devices and note if any design changes (size, height, illumination hours) are needed for compliance. On major roads, we also consider state guidelines like the Queensland Roadside Advertising Manual. For example, QLD’s manual explicitly requires that signs “do not distract drivers or adversely impact road safety and efficiency”. This means avoiding strobe effects or overly dazzling lights, especially near highways. Blink Digital’s team stays current with these rules and factors them into the site survey.
Other obligations can include safety and environmental regulations. We’ll note if the site is in a flood-prone zone (requiring equipment clearances), or near an airport (CASA lighting restrictions). Electrical compliance (e.g. earthing, IP ratings) and building regulations (fire egress clearances, stair codes) are also checked. Blink Digital can often assist with the approval process – we prepare the technical drawings and documentation needed for council or the landlord’s sign-off.
In short, the survey documents who needs to sign off on your new LED signs Brisbane and what conditions they impose. Getting these answers up front means the sign design can meet all requirements without costly redesign later.
Intended Content and Operating Hours
Finally, understanding how you plan to use the sign influences site planning. During the survey, Blink Digital will discuss the intended content and scheduling. A sign used only during business hours has different requirements than one running 24/7. For instance, if it’s a promotional sign for a cafe, it may dim or turn off overnight. If it’s a highway-facing billboard, it may need maximum brightness around the clock (within permitted limits). The team will note the business’s opening hours and any special events (like late-night shopping or peak traffic times) that affect sign usage.
This also ties into power and access: 24-hour operation may need a backup (generator or UPS) if continuous uptime is critical. Frequent content updates (news, pricing, social media feeds) mean the site needs robust network uptime. If the sign will display video or animation, the survey checks that the control PC or player is specified for smooth playback.
Knowing the content plans helps Blink Digital advise on things like fade schedules (e.g. automatic night-time dimming to comply with AS 4282 on obtrusive light) and hardware selection (video-capable controllers vs. static text boards). It also allows us to pre-configure media players and show you how to use our CMS.
Planning content ahead of time keeps your LED signage project on track: the hardware can be ordered with the right features (e.g. speakers or high-refresh-rate controllers), and a suitable warranty for the usage level can be arranged.
Ready to Plan Your LED Signage? Contact Blink Digital
A careful site survey is the first step to a successful digital signage Brisbane project. By confirming all the above details—distance, light conditions, space and structure, power, access, approvals and content—you ensure your new LED sign is fit for purpose and professionally installed. Blink Digital’s Brisbane team is experienced in all these areas. We can conduct a full site assessment for you, provide guidance on the checklist items above, and help organise the permitting and technical details.
To get started, contact us for more information and assistance. Our experts will be happy to discuss your project, answer questions about LED signs, and arrange a site visit. Visit blinkdigital.com.au or call us to talk about your signage needs. Let Blink Digital’s specialists handle the site survey and quoting, so you can be confident of a smooth, compliant LED signage installation in Brisbane.